TO DIY OR NOT TO DIY?
Pampering yourself to a beautiful garage space can go a long way in transforming your indoor space. You should have a look on the internet for a handyman services near me to find a company that can support you with this process. Getting light fixtures put in, putting pictures up and building new furniture. Before you get to this stage though, you need to focus on the foundations. Protecting your concrete from dirt, grime and slush that come from the harsh winters of Minnesota is very important. Epoxy floors make for easy cleanup and create a beautiful new place in your home. Below are reasons to consider why you should have a professional install your epoxy garage floor whether it be for your mancave, garage, or on top of the best shed base, instead of taking the DIY route.
Cost
Installing a garage floor is not cheap. Professional or not, it’s going to be expensive no matter what route you take, thinking about home improvement loans to have your floor professionally done as well as cover the cost of whatever other home improvements you may want to start, is just one of your options. The price you pay for professionals to install your new epoxy floor is cost-effective. Knowing that your floors are going to last, using the highest quality products that are offered as well as having a professional install these floors, is considered an investment.
There is no doubt that your local home improvement store will be selling a cheaper DIY version of what professionals would likely apply. It is probable you’re going to have to purchase more than one kit, depending on your space.
Prep
How you prep these floors has a direct correlation to the longevity/durability of your epoxy floor. Professionals have access to the appropriate grinders, diamonds and other equipment necessary to properly prep an epoxy floor. This equipment also provides our contractors with the advanced technology available to assess the surface they’re working with, in order to apply the necessary amount of product.
Most “DIYers” do not have access to these expensive, professional tools, leading them to lack the technology that’s truly required to complete the job properly. “DIYers” tend to settle for acid etching as an alternative to grinding. This is the process of washing the concrete with a muriatic acid solution, which attempts to create a rough profile to apply the epoxy. Unfortunately, in Minnesota, this method does not work due to our harsh winters. Although this method is a step ahead of scrubbing with just soap and water, the profile needed to create longevity isn’t possible without proper grinding tools.
Application
The process of applying epoxy to the concrete might seem as simple as painting a room in your home, but it’s not that easy. After grinding it is important to make sure you know what type of product you’re working with and the quality of these products.
A factor “DIYers” need to consider is the ratio of product that is mixed together. Combining too much of one product over another can be detrimental to the job.
Contractors already understand the proper ratios needed to combine the epoxy coatings because we do it every day. Using high-end polyurea coatings, flake and proper color coat systems, professionals are a reliable source when it comes to using the best products out there.
Lastly, timing is everything in the application of the product. Understanding the correct timeframe to wait within each step is important. Being sure to not throw the flake too late after the base coat is vital. Understanding when to chip out and vacuum the excess flake, along with the timing between the basecoat and topcoat is important. Professionals are trained to understand these timeframes whereas “DIYers” need to learn the proper way themselves, usually through trial and error which can be costly.
Appearance
As a “DIYer”, the kits you can find at your local hardware store are pretty basic. Usually only having a few bland colors to choose from. The flake color availability targets at camouflaging in the imperfections. Left with bubbles, roller marks and uneven flake, the basic colors available attempt to hide “DIYers” common mistakes. If you’re taking the DIY route, consider the fact that it is almost inevitable that you will make some mistakes within the process. This is true whether you are painting a garage or assembling the kind of metal buildings kentucky often uses.
Professionals offer a variety of epoxy floor options. From metallic floors to any color quartz aggregate you can imagine; there are customized options beyond just flake. Whatever you envision for your garage space, our professionals can make it happen!
Durability
Durability is what it really comes down to. As mentioned above, the DIY method tends to have a life span of around 1-2 years. Chipping, cracking, flaking and delamination eventually starts to form. On the other hand, the professional route takes all the right steps in order to guarantee your garage floor will last a lifetime (under warranty).
The preparation that goes into a professional job, with proper grinding equipment and proper mixing ratios, is what elongates the durability of the floors.
Finally, DIY kits do not always include a topcoat product. If they are provided, the products are usually water-based, not epoxy/urethane-based. As professionals, topcoats are a guaranteed part of the process. Ensuring resistance against chemicals, types of oils, and UV rays, the topcoat offers even more abrasion resistance than just the base layer.
The Final Decision
Whether you decide to go the cheap, heavy labor way or have professionals do the thorough work for you, you really must consider the cost vs. longevity of your project. If you’re looking for an aesthetically pleasing garage space to enjoy for years on end, hiring the right professionals to help is the route to take!
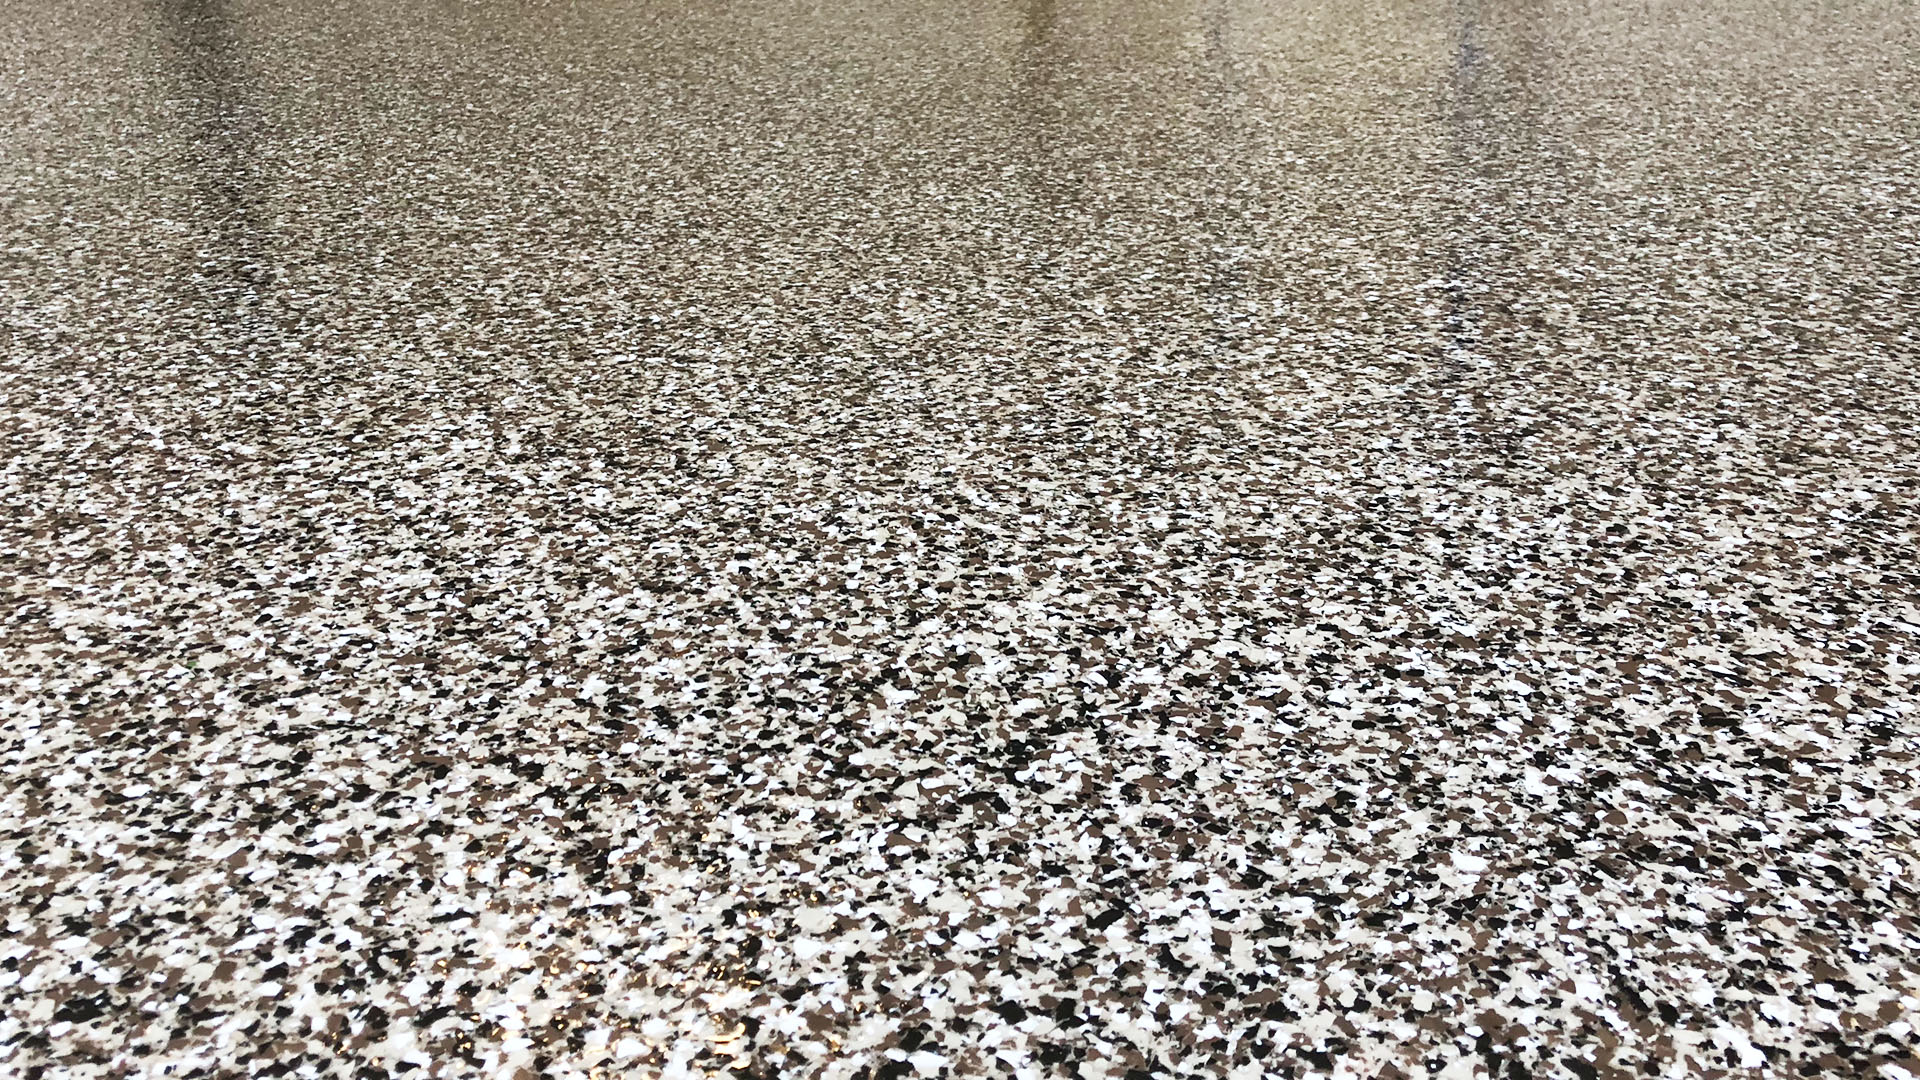
Below are photos of a DIY garage floor after 1-2 years vs a professional’s job after this period of time.